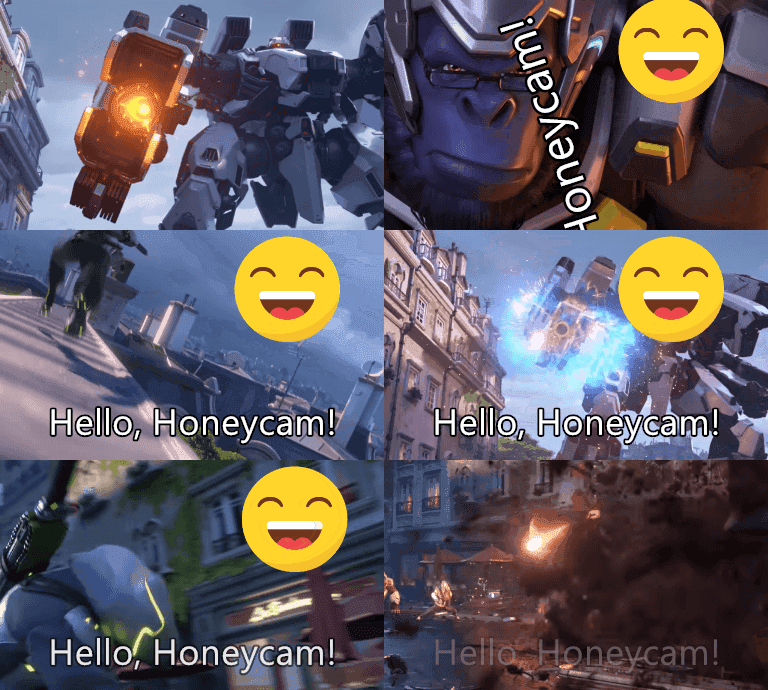

How to apply animation effects to objects in GIFs
If you want to bring life to dull-looking images, try using the Animation Effect feature.
Even simply making text or stickers appear and disappear smoothly in an image can dramatically improve the overall quality of the final result. This help guides how to apply professional effects such as a fade, slide, and zoom to objects inside animated images.
Quick summary
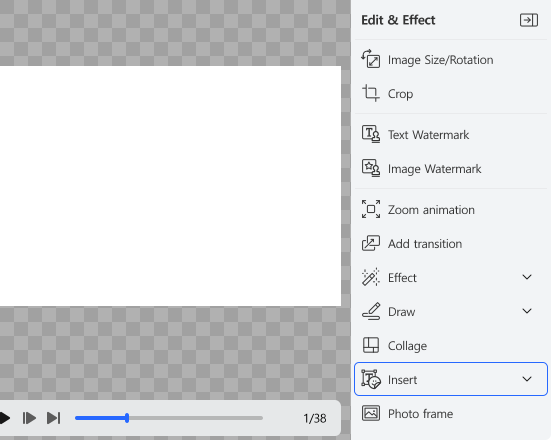
- Click Edit & Effect → Insert
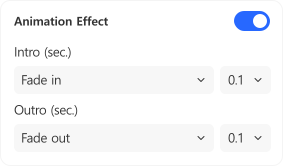
- Enable Animation Effect in the settings panel
- Choose an effect and configure the start/end timing
1. Add an object in the Insert menu
Place the text or other object that you want to animate on the screen.
- Click the Insert button in the Edit & Effect panel on the right side of the screen.
- Select and insert the object you want: Text, Chat bubble, Sticker, and Image.
Refer to the following link for more details.
How to add text to animated GIFs
2. Enable the animation effect
Activate the feature to add motion to the inserted object.
- Click the object added to the editing screen.
- Scroll down the panel on the right.
- Turn on the toggle switch next to Animation Effect.
3. Configure effects and timing
Customize how the object will appear/disappear.
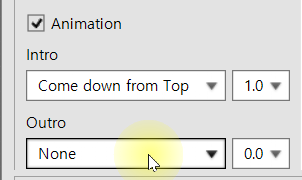
- Choose effects: Select the animation effect to apply when the object appears and disappears on the screen.
- Adjust timing: The number next to each effect represents the duration in seconds. Larger values create slower and smoother movements.
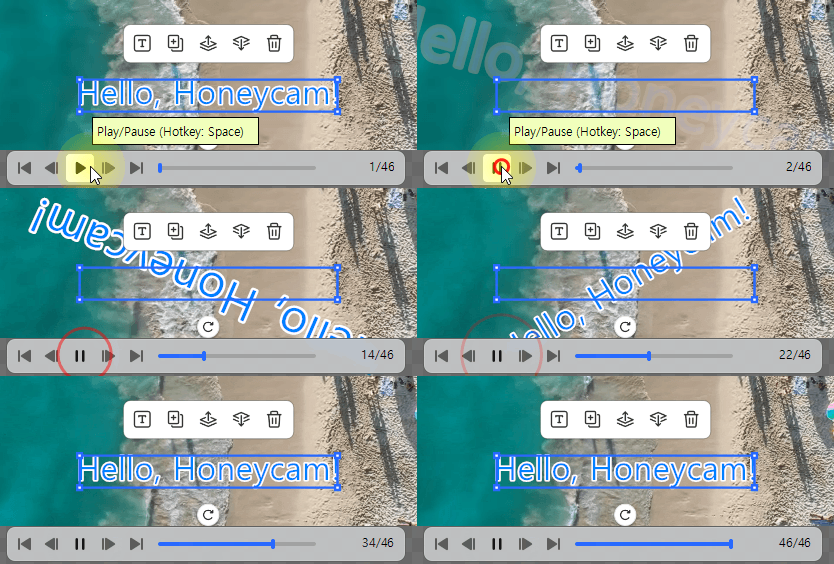
You can preview the applied animation in real time by clicking the Play/Pause button at the bottom left corner.
4. Apply and save
Click the OK button. Return to the main editing screen and click the Save button.